-40%
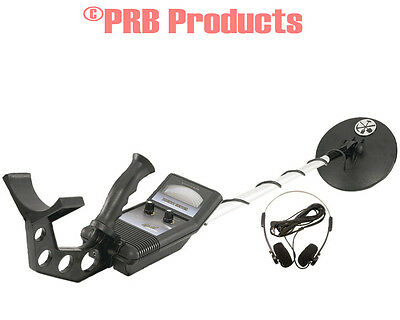
Metal Detector pulse induction self-assembly ( DIY kit ) – depth to 5 ft.
$ 11.61
- Description
- Size Guide
Description
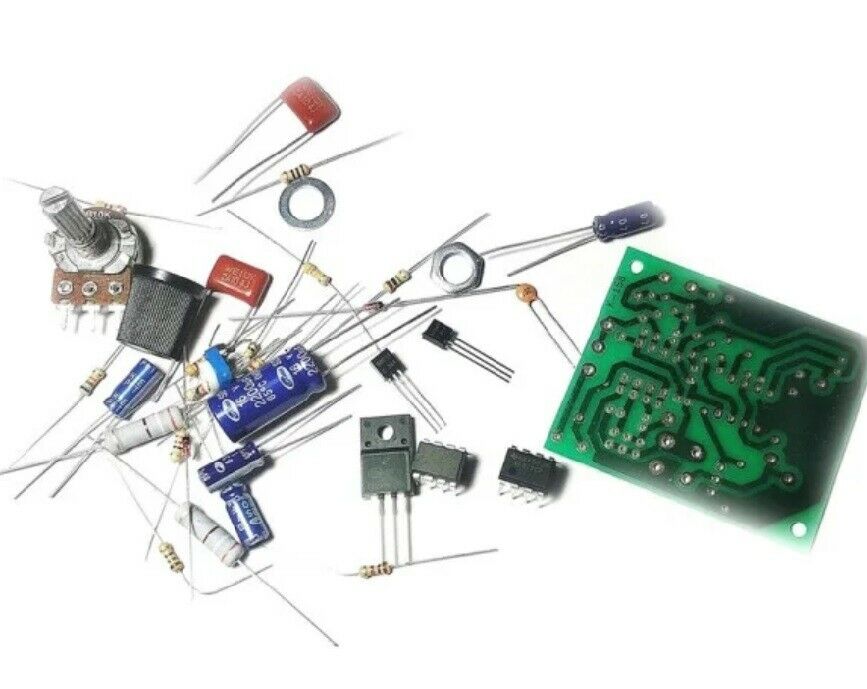
Pulse induction metal detector complete set of componentsfor self-assembly ( DIY kit )
Specifications :
➔
Depth of detection of a coin to
10 inches
(20 -
25 cm
)
➔
The depth of detection of the large item to
60 inches
(100 -
150 cm
)
➔
Power supply, 9-14 B
➔
Current consumption 60 - 70 mA
➔
Pulsed current consumption, 1 -
2 A
➔
Overall dimensions of the board, 45 X
43 mm
Device description
The device consists of two main nodes: transmitting and receiving. The transmitting node consists of an NE555 pulse generator and a powerful key on the IRF740 transistor. The receiving node is assembled on the chip TL072 and the transistor BC547. The excitation signal is transmitted periodically to the coil of the sensor, in the form of pulses with a duration of 125-150 μs and a frequency of 125-150 Hz. In conducting objects, damped eddy currents are induced, which excite a damped electromagnetic field. Depending on the conductive properties and size of the object, the signal changes its shape and duration.
Making a search coil
For the manufacture of the search coil, you need a rigid non-metallic mandrel Ø 200-
250 mm
, copper winding enamelled sew wire (Ø0.4 -
0.6 mm
)
20 meters
long, copper insulated stranded wire 2x1.5 mm2, 120-
150 cm
long fee. On the mandrel tightly wind 25 turns of magnet wire. Attach the ends of the wire and solder them using soldering insulated wire with the board to the L1 contacts.
Assembly and configuration of the metal detector
To SP1 contacts solder the speaker 8 Ohm 0.5W. Contacts P1 are supplied with power 9-14 V (preferably from a 12 V
1.2 A
/ h battery). After turning on the device by rotating the trimmer resistor R8, find a position where the clicks in the speaker die down as much as possible and the noise does not begin to grow, after which the variable resistor R9 performs the same operation but more precisely, the maximum sensitivity of the metal detector is at the sound level. The sensitivity of the metal detector can be improved by changing the number of turns of the coil. With a mandrel diameter of
250 mm
, and a winding wire of Ø
0.5 mm
, this is approximately 14 turns. After setting the coil, you can give a rigid form, wrapping it with tape, tape or impregnated with epoxy resin.
The set includes:
U1 NE555
U2 TL072
VT1 S9015
VT2 BC547
VT3 IRF740
D1 1N4148
D2 1N4148
R1 120K
R2 47 K
R3 68K
R4 68K
R5 100K
R6
1 M
R7 1.6K
R8 (trimmer) 50K
R9 (variable) 20K
R10 910 - 1K
R11 470 - 510
R12 33 - 100
R13 150
R14 430 - 470 K
R15 11
R16 360, 2W
R17 360, 2W
C1 2200x16 B
C2 0.1
μ
F
SZ 0.1
μ
F
C4 10x25 V
C5 10x25 V
C6 1000 pF
C7 1x50 V
C8 1x50 V
Printed circuit board
Handle for variable resistor
Electrical schematic diagram
ITEM DELIVERY
Free worldwide shipping from 1
0
to 35
days ( with postal tracking # ) and without custom duty in
99% case !

